We are open Monday to Friday
Product Hotline - 01993 704 981
Local call rate - 0208 0909586
Studio Wall Installation Guide
Download this as a PDF file HERE
Step 1.
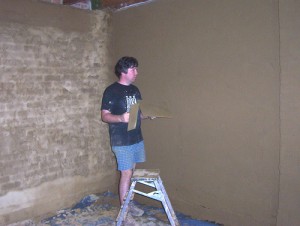
Ensure the wall to be treated is flat and even and remove skirting boards. If it has been ‘wet’ plastered, tap it to check the plaster has not ‘blown’ This is when the plaster is coming away from the wall and will sound hollow. It may also ‘give’ when pressure is put on it. If blown plaster is found it should be chipped off and replaced before any further work commences. Also see notes at the end of these instructions.
Step 2.
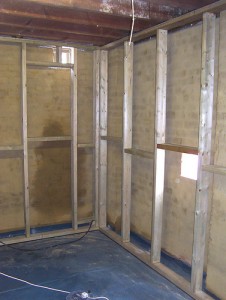
Fix the timber stud to the wall using suitably sized screws and rawlplugs ensuring the screws are countersunk into the timber and use Acoustic Foam Tape (Optional product) to help isolate the stud from the wall. Alternatively, use angle brackets screwed to the sides of the stud and in turn screwed to the wall but still use the Acoustic Sealing Tape (Optional product). There is no need to include noggins but sole plates (timber stud) and top plates should be installed before the uprights.
For a more effective result, the stud should not be fixed to the wall but installed with a gap of 25mm between the stud and the wall. This can be seen left. If this method is chosen, it is essential the top and bottom plates are securely fixed before installing the upright sections.
Step 3.
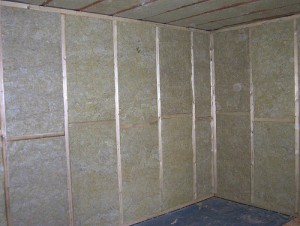 Infill with the supplied AMW acoustic mineral wool of suitable thickness to fill the void. It does not matter if the AMW touches the wall behind but it must not protrude beyond the surface of the stud. The AMW does not require fixing but should be a loose fit.
Alternatively, SoundBlocker Quilt (Optional alternative to our Acoustic Mineral Wool) can be used to give a superior performance. This should be stapled to the inside edges of the stud using a normal upholstery stapler and staples that are suitably sized to secure the quilt. Upholstery staple guns can usually be obtained at most DIY stores.
Step 4.
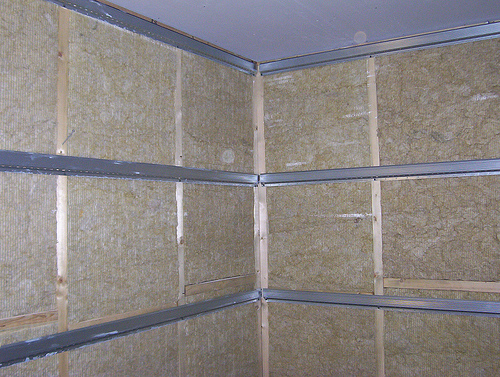
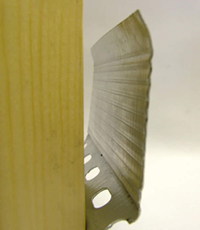
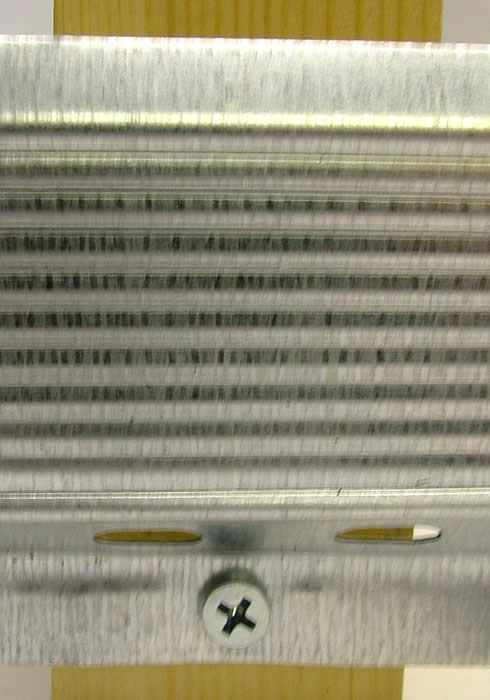
Screw the Resilient Bars (Supplied) across the stud ensuring there is one at the bottom and another along the top then install the remainder between at 600mm centres.
It is important these are installed with the screw fixings on the bottom edge of the bars for maximum efficiency. (See above)
Step 5.
Screw 12.5mm (or thicker) one layer of supplied high density Acoustic Plasterboard to the bars taking care not to screw through to the stud.
It is better to mark the position of the stud and bars on the floor, walls and ceiling to help ensure the screws are correctly placed. The plasterboard should not come into contact with the surrounding walls, floor or ceiling so leave a gap of 1 – 2mm.
Step 6.
 Using our special aerosol contact adhesive (Supplied), bond the SBM5 sound barrier mat to the plasterboard. The adhesive has an adjustable nozzle so it is usually better to select the widest spray pattern by turning the nozzle so it aligns with the symbol and usually marked H at one o’clock to the nozzle. The other settings are M and L for medium and low spray pattern. (See application instructions on side of can).
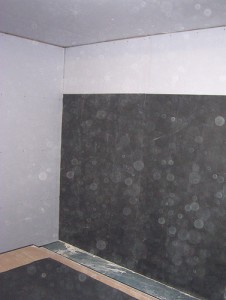
Spray the plasterboard one board at a time then spray the soundproofing mat and bond it to the plasterboard immediately taking care to position it correctly. Install the soundproofing mat across the entire wall surface wall to wall and floor to ceiling. It is not necessary to leave a gap with this product.
Step 7.
Screw the second layer of acoustic plasterboard on top taking care to avoid screwing through to the studs. Again a gap has to be maintained around the edges between the walls, floor and ceiling. This gap should then be filled with the supplied Acoustic Sealant then smoothed off flush with the plasterboard. Take care to follow the instructions printed on the sealant cartridge. If this second layer of plasterboard is taper edged then the joints can be filled and finished before decorating otherwise you have to have the boards plaster skimmed first.
NOTES
Any electrical fittings should be removed prior to work commencing by a qualified electrician and refitted by the same. Any holes necessary for wiring should be sealed with our Acoustic Sealant.
Skirting boards can be replaced using a good adhesive. It is advisable not to use mechanical fixings.
In the case of timber suspended floors and ceilings, noise can sometimes flank around an insulated wall through these areas. Often, if the joists next to the separating wall are filled with AMW acoustic mineral wool it stops this problem. As a last resort however, increase the mass of the ceiling by adding an additional layer of Acoustic Plasterboard and/or add at least two layers of our SBM5 soundproofing mat on top of the floor.
Fittings can be attached to the wall using purpose made plasterboard fixings such as Self-drive plasterboard fixings.
JOB’S DONE!
If you have any difficulty with the installation or require any additional advice, please contact our Technical department on 0845 363 7131
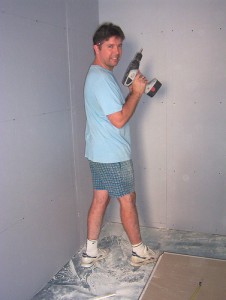
ALL IMAGES ARE OWNED BY MARK MASON AND SOUND SERVICE (OXFORD) LTD AND CANNOT BE USED OR COPIED WITHOUT PRIOR PERMISSION. ACTION WILL BE TAKEN BY SOUND SERVICE IF THESE IMAGES ARE USED WITHOUT PERMISSION.
Mark Mason used our products to soundproof a garage for his son. His website can be seen here www.matthewmason.co.uk and here http://www.matthewmason.co.uk/links.htm

